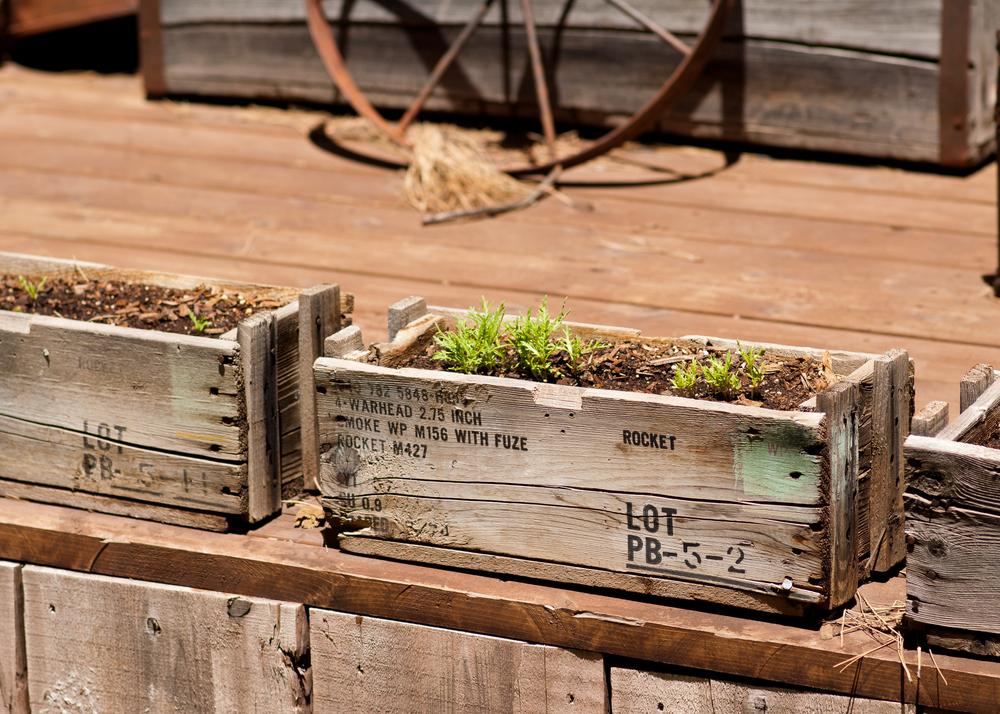
How to Build a Wooden Planter Box

Gardening is a de-stressing hobby, irrespective of how small an area you have for gardening, with some clever planning, you can utilize the space well and grow your own produce. A Wooden planter is a smart way to create compact beds and grow vegetables, greens, and flowering plants. Here are detailed steps on how you should go about building such planters.
Step 1: Decide the planter size
Get a measuring tape and measure the total area you have for gardening.
Step 2: Work on the wood
If you are planting edible food in these planters, ensure the wood is untreated. Chemicals used to treat the wood can spread into the soil easily. Cedarwood always remains a popular choice for the ease of handling it. You can either buy pre-cut pieces of wood or get a whole plank and cut it based on your measurements. You will need planks to cover the four sides of your Wooden planter and a wider plank to cover up the bottom.
Step 3: Drill needed holes
Drainage holes are compulsory irrespective of the type of plants you grow in these planters. These will prevent excess water from damaging the roots of the plant. Make sure you drill 3-4 holes all around the bottom part of your planter before you start filling with soil.
Step 4: Cover up the bottom
Once the drain holes are drilled, take a piece of nylon or vinyl sheet and place it over the bottom plank. You can now fix this up using nails. This will prevent the soil from seeping out through the drain holes. This also protects the wood.
Step 5: look for sharp edges
Since this is a DIY project, chances are you have left behind rough and sharp edges around, especially on the outside. This will cut or hurt your skin after you have started using the Wooden planter. Look for such spots and sand them out. Remove excess nails sticking out.
Step 6: Paint the wood if needed
You can now add a coat of wood primer to protect the surface. You can even get creative and use different colors to make the Wooden planter look colorful. Once the paint/primer has dried out, the planter is ready to be used.
Step 7: Place the planter in the right space
If you are going to place these in balcony or window railings, get a sturdy bracket that can hold the weight. It is recommended you cover your indoor/balcony surface with a waterproof sheet before placing the planter directly on the floor. If you are choosing outdoor planting, you can dig a hole in the existing soil and put this in or create a raised bed.
Step 8: Maintain the planter
Fill up the planter with equal amounts of soil and compost. You can add poles as support for specific types of plants. It will be difficult to move the planter once it is filled with soil. So plan accordingly. Enjoy your flowers and vegetables all through the year!
A Wooden planter is a great way to satisfy your green thumb and make your garden look elegant and sophisticated. Create as many planters as you want and grow your own produce.
